
Learning how to build bushcraft shelters in the wild is what I personally think, a crucial skill everyone should know. Because in life, you simply never know in what circumstances you might wake up one day.
Constructing a bushcraft shelter is done for two main purposes: either as an entertainment or as a means of survival.
The differences in bushcraft shelters are endless. It is not enough to just look at a bushcraft shelter blueprint and start building in your local area. You simply can’t do it. You must make use of what you have and pay attention to the things around you.
Online, there are a lot of intricate, leisurely made shelters. These demand a great deal of labour and give little safety in real life. As such, it is crucial to remember why you are constructing a shelter.
So, here’s how you can make 10 different bushcraft shelters in survival situations:
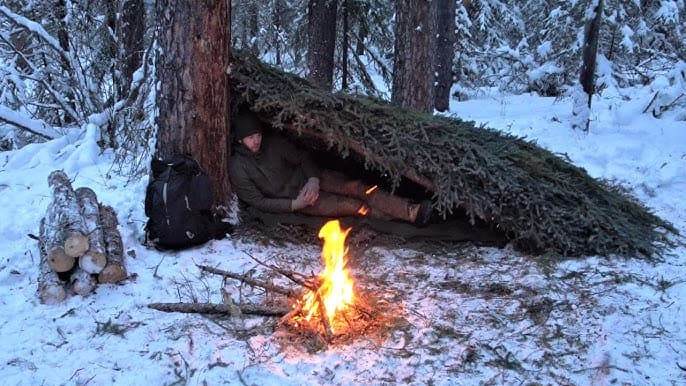
1. Lean on Bushcraft Shelters

This bushcraft shelter can be assembled without a tarp. All you need to build this shelter is some kind of cord and wooden sticks. Just secure a bigger branch across two trees. Next, put lots of sticks up against that branch so it forms a wall. This wall will then reflect part of the heat if you place your fire in front of the shelter.
Although it doesn’t offer a great deal of safety, a lot of people are able to set this kind of bushcraft shelter up in less than an hour.
Pros:
- Hasty to produce
- Simple to converted into a permanent shelter
Cons:
- Not much protection
- Very little wind protection, only from the back
2. A – Frame Bushcraft Shelters
These types of structures are two sided lean on bushcraft shelters. Smaller sticks are used on both sides of your horizontal branch, giving them a tent-like shape.
These bushcraft shelters can be time consuming and offer very little protection. They may come in handy when you have limited resources or skills. But there are plenty of other shelters that need equal work and are more appropriate for survival.
Pros:
- Simple to construct.
- Discrete
Cons:
- Needs a lot of materials
- Not quite steady
- Minimal safety
3. Snow Cave Shelter
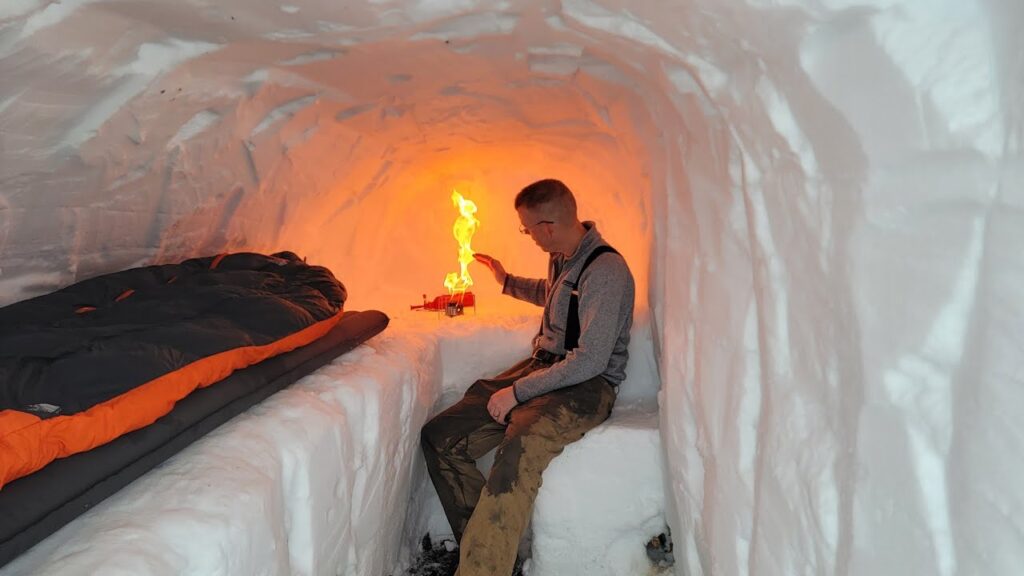
These can be considered a longer term shelter, appropriate for cold climates. The design of these shelters helps to keep cold air out of the sleeping space. But there’s a chance that this shelter poses a threat. It may fall apart or cause gas collections that could suffocate someone. That’s why it’s critical to dig them properly.
You should dig in fairly stable, dense snow. A good, thick snow is ideal. Start digging into the selected side. There should be a downward slope in the tunnel. This lower part keeps cold air by acting as a “cold well.” Next, dig around and build another shelfa little higher. That’s the part where the warm air tends to get trapped as warmth rises up.
Make a small, about 5-inch hole in the ceiling for some ventilation.This part is a must in my opinion. To preserve even more heat, you can use your backpack to close your way in. Just remember to do this only after the ventilation hole has been dug.
Pros:
- The toastiest shelter
- Offers full insulation from the weather
Cons:
- Possibly harmful
- Needs precise skills to make
Related: 17 Best Camping Oregon Coast Sites
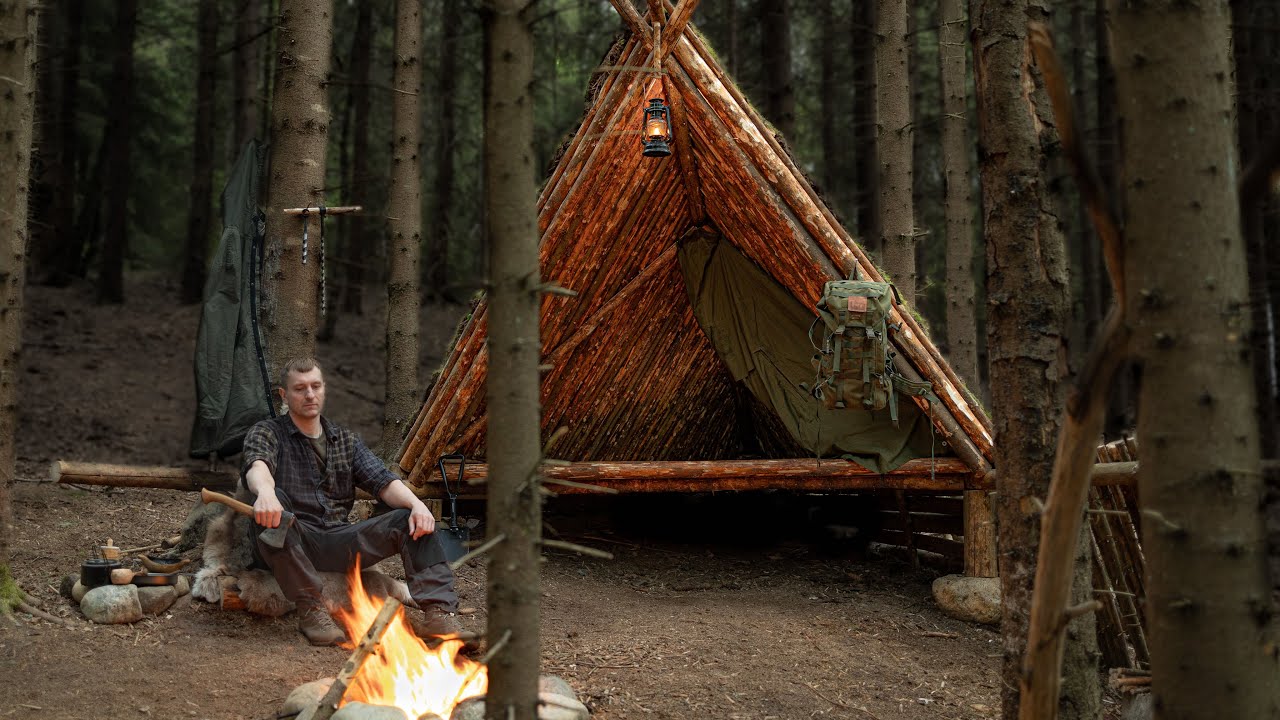
4. Teepee Bushcraft Shelters
You can use a tarp to create a teepee once you can find larger branches. There isn’t much material that you need to gather if you will be using a tarp. Though it can be difficult to get the teepee standing firmly, allow plenty of time for practice.
The starting point is to use bigger sticks to build the teepee’s framework. Some string can also be used to hold them connected. After the sticks have been placed, cover them with the tarp. To stop rain from dripping, you can place some additional natural materials over the tarp.
Pros:
- Covers you fully
- You can light a fire inside
- Suitable for multipe people
- Tightly shielded from the wind
Cons:
- Requires more work
- Must have a big tarp
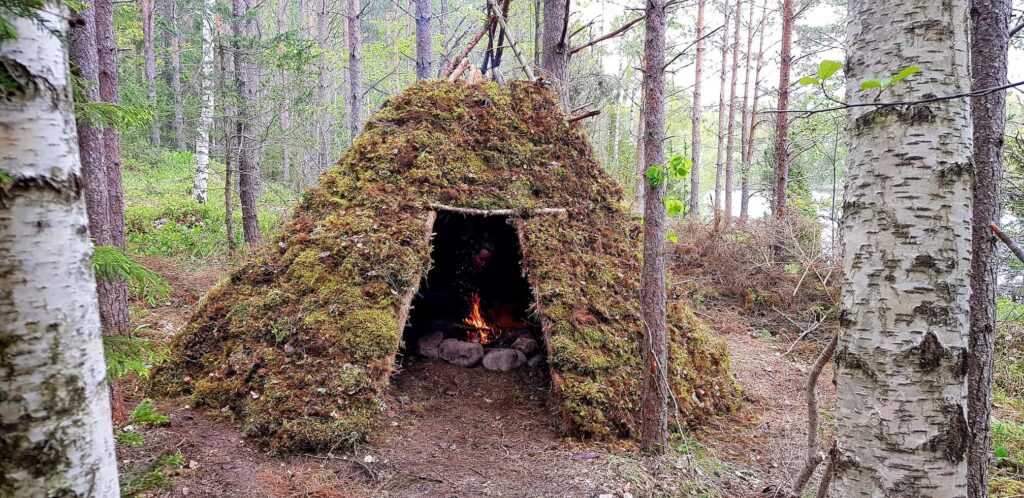
5. Wigwams a.k.a Wickiups
Wickiups and wigwams are essentially identical. These are huts that are partially permanent and are held up by tree saplings. These are referred to as “wickiups” in the West and “wigwams” in the eastern regions in the US.
Typically, you fix the tips of the trees all together to create a dome like structure and plunge ends into the surface in a circular pattern. The structure is completed by linking or twirling tree saplings all around the structure to finish the shell.
After that, a covering goes on to the frame that offers fire, wind, waterproof, and insulation, which are the four key elements of a shelter. The covering is selected by what is around. Grass or cattail thatching are typical stuff. If you have access to them, rings of peeled bark and occasionally slabs of bark from dead trees are also excellent.
Pros:
- Covers you fully
- Suitable for multipe people
- Tightly shielded from the wind
Cons:
- Requires a lot of work
- Must have a lot of materials
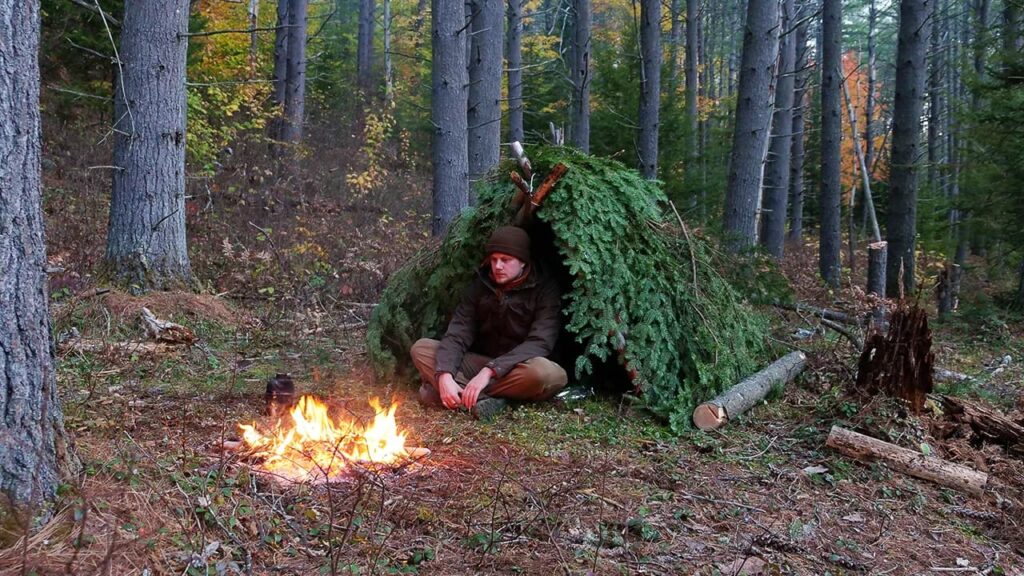
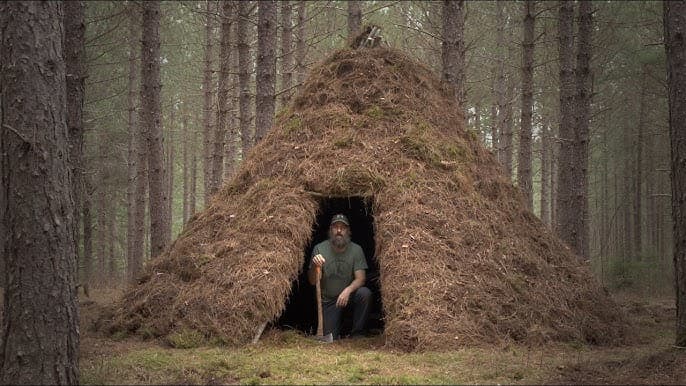
6. Debris Bushcraft Shelter
For many of us, the first kind of bushcraft survival shelter we create is a debris shelter. There is nothing more in the debris shelter than an A-frame and a ton of whatever stuff is out there. Your shelter is wind-resistant, waterproof, and insulated by the massive pile of debris.
Packing the inside of your debris hut with pine boughs, grass, and leaves is a thing I don’t see many people do, but it really helps to keep you cozy. After filling your shelter to the brim with these items, you should burrow under the padding.
The use of a dead tree, a large rock, or an uprooted tree as the foundation for your shelter makes the process of creating a debris shelter much simpler. A knocked down tree can serve as your shelter’s ridgepole. Additionally, you can build an entire weather resistant wall for your debris shelter with a big stone or uprooted tree.
Pros:
- Covers you fully
- Shelters multipe people
Cons:
- Requires a lot of work
- Must have a fallen tree or a big stone
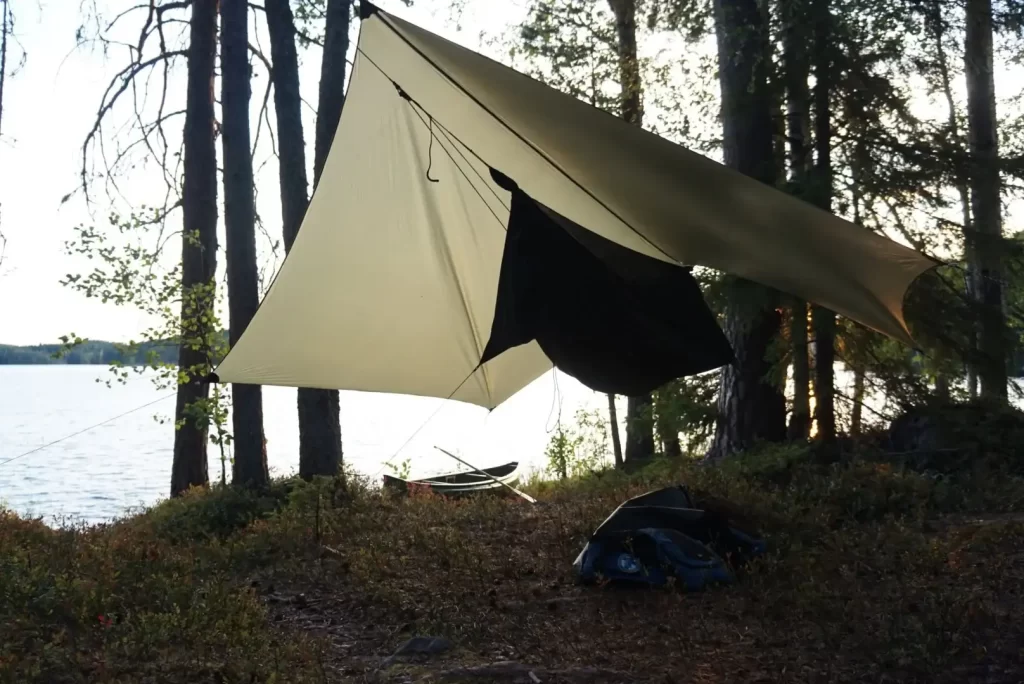
7. Tarp Wedge
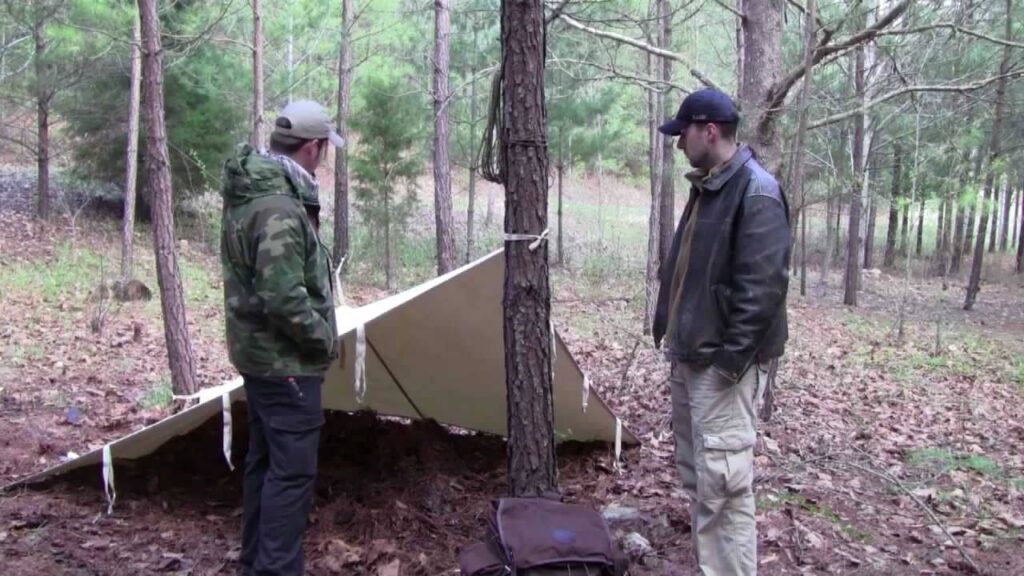
A single fallen tree can be used to construct a basic tarp shelter if you have a tarp. The wedge can provide some wind and rain protection if you know how to use the wind to your advantage.
A tarp’s center should be attached to your tree in order to construct this frame. It should only be high enough for you to easily lay down beneath it. Next, use large rocks or sticks to secure the other end’s edges to the the soil. For added security, you may also attach the ends next to the tree.
If your tarp is larger, you can fold in the outer corner to make a floor.
Pros:
- Fast to put up
- Minimal material gathering is needed
- Shields against the rain and wind
- Able to be constructed with just one tree
Cons:
- Minimal safety
8. Burrito Shelter

If the conditions are right, you might not require much protection. On the other hand, you might lack the necessary time or resources to put up a full shelter. In this instance, you can create a the burrito shelter in order to give yourself some extra safety and rainproof your sleeping setup.
In essence, a burrito shelter is a cover that you put around yourself. The tarp should be on your exterior if you have an internal sleeping layer like wool sheets, or a sleeping bag. It offers a water resistant layer that might just save your life. To seal the cover as much as possible, slip in its corners and lay on them. To allow for airflow, leave the end next to your head open.
Pros:
- Completed in 5 mins
- Protection from water
Cons:
- Very little security
- Frost and moisture may form inside.
9. Hammock Shelter
In situations like rain where it’s a must to be off the ground, you can use a hammock. There are lots of portable, simple to assemble survival hammocks available. They offer differing degrees of safety. Since hammocks raise you above the soil, you’ll need additional layers of insulation beneath you.
You can cover the hammock’s top with your tarp. Still, a lot of hammocks are fully waterproof and can be secured with a zipper. Therefore, it’s not always necessary to take this extra step.
Pros:
- Simple to put together
- No material gathering is needed.
- Works on Any terrain
Cons:
- More planning is necessary (you have to carry it)
- Different levels of safety based on the hammock you pick
10. Tent Shelter
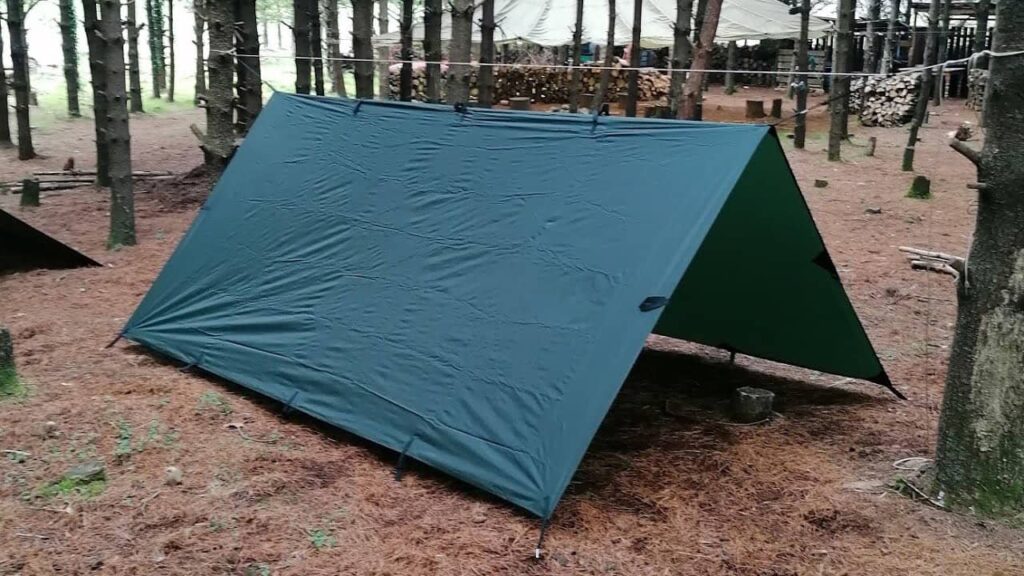
It’s not a tent, even though it’s referred to as a tent shelter. Tents may be complicated, hefty, and clunky. So instead, we suggest quickly assembling this tarp tent. Running a rope across two trees will be required. Cover the rope with your tarp.
After that, secure the ends on opposing sides with stones or twigs. This gives the structure of the tent a little more security.
In my experience this one is definitely one of the easiest bushcraft shelters to set up, assuming that you have some sort of tarp with you.
Pros:
- Quick to put up
- Minimal material gathering is necessary
- Shielding from rainfall and wind
Cons:
- Very little insulation
- Both sides are open
If it’s easier for you, I also attached a Bushcraft Shelters making video down below:
Improving Your Bushcraft Shelter
Once you’ve built a simple bushcraft shelter, you can modify it as needed and as time lets you. I strongly advise increasing the protection or insulation of a shelter. There are various methods for doing this, such as wrapping the walls with additional leaves, sticks, and debris. You will be better protected if your shelter has thicker sides. It goes without saying that you don’t want to add so much material that it collapses. Still, a heavy covering of leaves can act as an astonishing insulator.
It’s easier to improvise in some bushcraft shelters than in others. Lean-to shelters and other alike shelters are improvable, but a basic tarp shelter might not be. A lean-to and tarp shelter can be combined to create a huge shelter that is entirely sealed on one side.
Bedding of Your Bushcraft Shelter
For extra security, you could equip your shelter with a sleeping area as well. Making a bed is as easy as piling sticks and leaves together. But I advise using everything you happen to have on hand. Pine needles, moss, and other similar materials also function well.
Arrange the sticks on the bottom in multiple layers. At minimum, you should raise yourself a few inches off the floor. Bigger logs can be used around the edge to preserve all of the thermal insulation. Ideally, make sure the logs are a bit longer than you are. After that, stack insulating materials in the center. To add even more insulation between you and the ground, you can layer the bed with various materials and sticks.